Putting Everything Together
After adding a frontend in the previous chapter, your chess game is ready to play.
Hopefully, you've been using kit build <your_chess_app_name> to test the code as the tutorial has progressed.
If not, do so now in order to get a compiled package you can install onto a node.
Next, use kit start-package <your_chess_app_name> -p <your_test_node_port> to install the package.
You should see the printout you added to init() in your terminal: chess by <your_node_name>: start.
Remember that you determine the process names via the manifest.json file inside /pkg, and the package & publisher name from metadata.json located at the top level of the project.
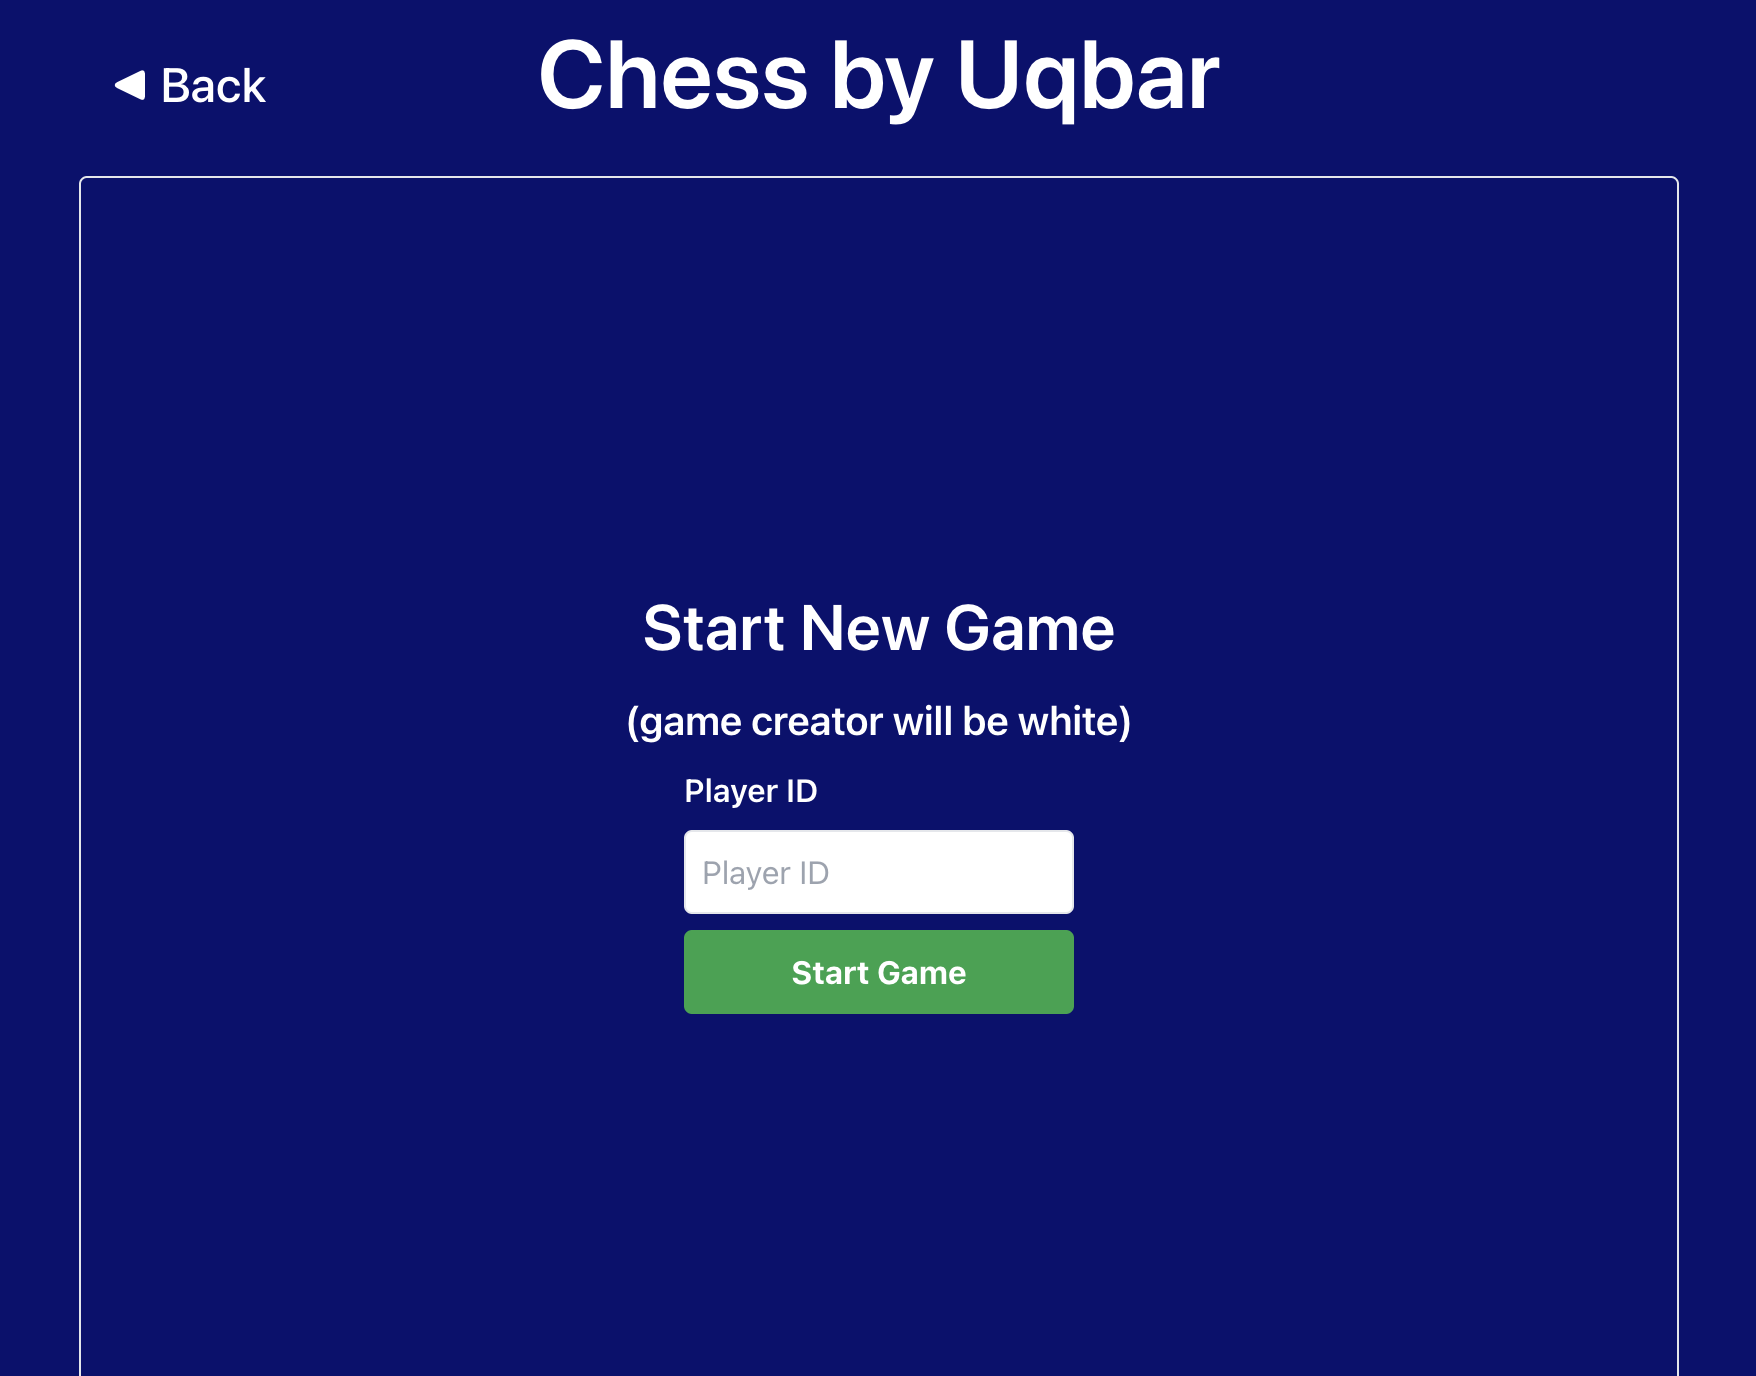
Open your chess frontend by navigating to your node's URL (probably something like http://localhost:8080), and use the names you chose as the path.
For example, if your chess process name is my_chess, and your package is named my_chess, and your publisher name is template.os, you would navigate to http://localhost:8080/my_chess:my_chess:template.os.
You should see something like this:

To try it out, boot up another node, execute the kit start-package command, and invite your new node to a game.
Presto!
This concludes the main Chess tutorial. If you're interested in learning more about how to write Kinode processes, there are several great options to extend the app:
- Consider how to handle network errors and surface those to the user
- Add game tracking to the processes state, such that players can see their history
- Consider what another app might look like that uses the chess engine as a library. Alter the process to serve this use case, or add another process that can be spawned to do such a thing.
There are also three extensions to this tutorial which dive into specific use cases which make the most of Kinode OS:
- Chat
- Payment Integration (using ETH) [coming soon]
- LLM Integration (play chess against the AI!) [coming soon]
The full code is available here.